
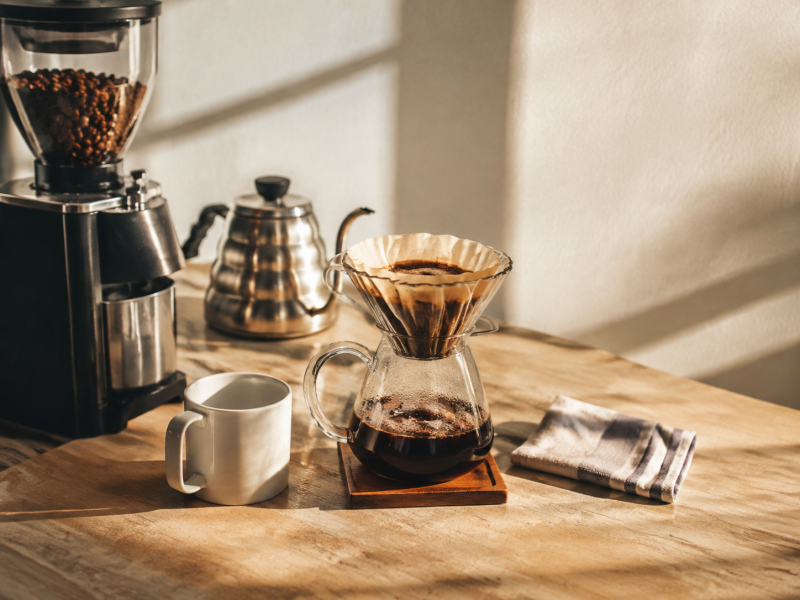
Case setup
You're on the road, it's 40°F outside, and you just unpacked your RAMI pour-over kit in a hotel room. The coffee smells great, but the cup is flat, sour, and nothing like your morning ritual at home. Sound familiar? This isn't a bad batch—it's a cold-weather brewing problem, and it's fixable.
The usual suspects: water temperature, grind size, and how fast your gear loses heat. When the air is cold, your kettle cools quicker, your brewer chills faster, and your extraction goes sideways. Here's how to diagnose and fix it, based on real trial and error with the RAMI ceramic dripper and gooseneck kettle.
What was tried
First, I tried compensating with more coffee. That just made the cup stronger but still sour. Then I tried a finer grind—that helped a bit but introduced bitterness. The real breakthrough came when I started measuring water temperature at the slurry, not just in the kettle. In a cold room, water can drop 10°F between the kettle and the brewer. That alone is enough to under-extract.
Another attempt was to preheat the ceramic dripper with hot water while the kettle was coming up to temp. That helped hold heat, but only if I did it right before brewing. Letting it sit for even a minute negated the effect. I also tested wrapping the brewer in a cloth napkin during the bloom—awkward but effective.
What actually fixed it
Three things moved the needle:
- Water temperature: Started heating water to 205°F instead of 200°F. In cold air, that extra 5°F compensates for the heat loss between kettle and brewer. If your cup tastes sour, go hotter; if it tastes bitter, back off.
- Grind size: Adjusted one notch finer than my usual home setting. Cold coffee beans are denser and can act coarser. If your brew runs too fast and tastes weak, grind finer. If it stalls and tastes bitter, go coarser.
- The towel wrap: Wrapped the brewer in a dry towel during the bloom (first 30 seconds). This held enough heat to keep the slurry at a good temperature. It's not pretty, but it works. A carafe cozy would do the same job.
Also, I stopped eyeballing the ratio. A small travel scale from RAMI's kit is worth its weight. I used 20 grams of coffee to 300 ml of water (1:15). Without a scale, you're guessing, and in cold weather, guessing gets you a bad cup.
Lessons transferable
These fixes aren't just for travel. If you brew near a drafty window or in a cold kitchen, the same principles apply. The golden rule: measure your water temperature at the slurry, not just in the kettle. If you don't have a thermometer, use the taste test—sour means under-extracted (too cool or too coarse), bitter means over-extracted (too hot or too fine).
Another transferable lesson: preheat everything. The RAMI ceramic dripper holds heat well, but it needs a head start. A 30-second preheat with hot water makes a noticeable difference, especially when the ambient temperature is below 60°F.
What we would try sooner next time
I'd skip the guesswork on temperature and get a cheap instant-read thermometer early. Also, I'd bring a small insulated sleeve for the brewer—something like a neoprene cozy—instead of improvising with a towel. It's steadier and less fiddly.
And one more thing: if you're brewing outside (camping, tailgating), consider a wider thermos for preheating water and a wind barrier around your setup. Wind is the silent killer of pour-over heat.
FAQ
What's the best water temperature for pour-over in cold weather?
Start with water between 200–205°F (93–96°C). In cold air, the kettle loses heat fast, so if you're brewing outside or in a drafty room, bump it to 205°F and preheat your brewer. If your cup tastes sour, the water was too cool—try hotter.
How do I adjust grind size when it's cold?
Cold air can make your grind act slightly coarser because the coffee is cooler and denser. If your brew runs fast and tastes weak, go finer. If it stalls and tastes bitter, go coarser. Small tweaks—one notch on your grinder—make a big difference.
What ratio should I use for pour-over when traveling?
Stick with 1:15 or 1:16 (coffee to water). For a single cup, that's about 20 grams of coffee to 300–320 ml of water. Use a scale if you have one—it's the single best way to stay consistent, especially in a new environment.
Sources & Further Reading
- Specialty Coffee Association (SCA) – Brewing standards and water temperature guidelines. Visit SCA
Disclaimer: This guide is for general brewing education. Individual results may vary; adjust to your taste.
Case FAQs
Q: What's the best water temperature for pour-over in cold weather?
Start with water between 200–205°F (93–96°C). In cold air, the kettle loses heat fast, so if you're brewing outside or in a drafty room, bump it to 205°F and preheat your brewer. If your cup tastes sour, the water was too cool—try hotter.
Q: How do I adjust grind size when it's cold?
Cold air can make your grind act slightly coarser because the coffee is cooler and denser. If your brew runs fast and tastes weak, go finer. If it stalls and tastes bitter, go coarser. Small tweaks—one notch on your grinder—make a big difference.
Q: What ratio should I use for pour-over when traveling?
Stick with 1:15 or 1:16 (coffee to water). For a single cup, that's about 20 grams of coffee to 300–320 ml of water. Use a scale if you have one—it's the single best way to stay consistent, especially in a new environment.
Case lessons
- When temperatures drop, pour-over brewing needs a few adjustments to keep extraction consistent. This case file walks through the common issues travelers face with RAMI gear in cold weather, what was tried, and what actually worked—focusing on water temperature, grind size, and a simple ratio hack.
- Cold ambient air cools your kettle faster—compensate by starting hotter or preheating the brewer.
- If your brew tastes sour, the water is likely too cool; aim for 200–205°F and adjust grind if needed.
- A travel scale that fits in your RAMI kit is non-negotiable for consistent ratios.
- Wrap your brewer in a towel or use a carafe cozy to hold heat during the bloom.