
Why a Travel Ritual Feels Hard (and How to Fix It)
Most people skip coffee on the road because it feels like too much fuss. You're in a hotel room, the coffee maker looks suspect, and the nearest café is a 20-minute walk. So you settle for bad coffee and a grumpy morning.
The fix isn't more gear—it's a system. When your kit is prepped and your routine is practiced, brewing a good cup takes about the same time as waiting in line at a café. The trick is to break the setup into small, timed lessons so it becomes second nature.
5-Minute Lesson: Pick Your Travel Kit
You don't need a trunk full of equipment. The core kit is:
- A hand grinder (ceramic burr is fine)
- A pour-over dripper (plastic or ceramic, collapsible if you want to save space)
- Paper filters (matching the dripper size)
- A heat-safe mug or a collapsible carafe
- A small scale (if you don't want to pre-weigh at home)
- An airtight bean container
That's it. If you already have a French press or an Aeropress, you can swap the dripper for that—the lesson is to keep your kit small and consistent.
Check your gear once before you leave. Make sure the grinder is clean, you have enough filters, and your bean container seals properly. That 5-minute check saves you from discovering a broken zipper or a forgotten filter at 6 a.m.
15-Minute Lesson: Dial In Your Brew Ratio
Now that you have your kit, it's time to find your ratio. A good starting point is 1 gram of coffee to 16 grams of water. That's about 15 grams of coffee for a 250 ml cup.
But ratios are personal. Some people like it stronger, some lighter. The 15-minute lesson is to experiment at home:
- Brew one cup with a 1:15 ratio, one with 1:16, and one with 1:17.
- Taste each and note which you prefer.
- Write the winning ratio on a sticky note and keep it in your travel kit.
Also dial in your grind size. If your brew is too bitter, your grind is too fine. If it's sour, too coarse. Adjust until it tastes right. Write down the grind setting on your grinder.
Once you know your ratio and grind, you can pre-weigh your beans into daily doses. That way, on the road you just grab a pouch and go.
30-Minute Lesson: Practice the Full Routine
This is where you make it automatic. Set aside 30 minutes at home to run through the entire ritual as if you were in a hotel room:
- Boil water (or heat it in a kettle).
- Set up your dripper and filter.
- Measure out your pre-weighed beans.
- Grind them.
- Pour water in a slow, circular motion.
- Wait for the brew to finish.
- Clean up.
Time each step. The goal is to get the whole thing under 5 minutes of active time. If you're fumbling with the filter or spilling water, that's what this practice is for. By the end of 30 minutes, you'll know exactly how to pack your kit so everything is within reach.
One trick: keep a small towel in your kit. It's the unsung hero of travel coffee.
What Needs No Timer
Some parts of your ritual don't need to be rushed. Let them happen in the background:
- Water heating: While that's happening, you can grind beans or set up your dripper.
- Brewing: The pour-over takes about 2-3 minutes. Use that time to prep your travel mug or just breathe.
- Cooling: If your coffee is too hot to drink, let it sit for a minute. No need to rush.
Don't time your enjoyment. The whole point of a ritual is to slow down, not to optimize every second.
Practice Schedule
To make this stick, practice once a day for the first week. Then once a week for the next month. After that, it becomes muscle memory.
- Day 1: 5-minute lesson (gear check)
- Day 2: 15-minute lesson (brew ratio)
- Day 3: 30-minute lesson (full routine)
- Day 4: Pack your kit for a mock trip and brew in a different room
- Day 5: Try it outside, like on a balcony or a park bench
By day five, you'll be ready for a real trip.
A Final Thought on Storage
Your beans are the heart of the ritual, so treat them well. Keep them in an airtight, opaque container, and store it in a cool, dry place. Avoid the fridge—moisture and odors can ruin the flavor. And never leave beans in the original bag if it's not resealable.
Pre-weighing your doses is the best storage hack. It keeps the air out, and it makes your morning routine faster. Plus, you'll know exactly how much coffee you have left for the trip.
FAQ
What's the minimum gear I need for a travel coffee ritual?
You can start with a hand grinder, a pour-over dripper (like a ceramic or plastic V60), paper filters, a heat-safe mug or carafe, and pre-weighed beans. That's enough to brew a solid cup anywhere you can boil water.
How do I keep my coffee beans fresh while traveling?
Use an airtight, opaque container—like a small stainless steel canister or a vacuum-sealed pouch. Keep it in a cool, dry place away from direct sunlight and heat. Avoid the fridge, because moisture and odors can get in.
Can I use pre-ground coffee for travel?
You can, but it will lose flavor faster. If you want the best taste, grind right before brewing. A hand grinder adds about 30 seconds to your routine, but the difference is worth it.
Timer FAQs
Q: What's the minimum gear I need for a travel coffee ritual?
You can start with a hand grinder, a pour-over dripper (like a ceramic or plastic V60), paper filters, a heat-safe mug or carafe, and pre-weighed beans. That's enough to brew a solid cup anywhere you can boil water.
Q: How do I keep my coffee beans fresh while traveling?
Use an airtight, opaque container—like a small stainless steel canister or a vacuum-sealed pouch. Keep it in a cool, dry place away from direct sunlight and heat. Avoid the fridge, because moisture and odors can get in.
Q: Can I use pre-ground coffee for travel?
You can, but it will lose flavor faster. If you want the best taste, grind right before brewing. A hand grinder adds about 30 seconds to your routine, but the difference is worth it.
Related Windbar Resources
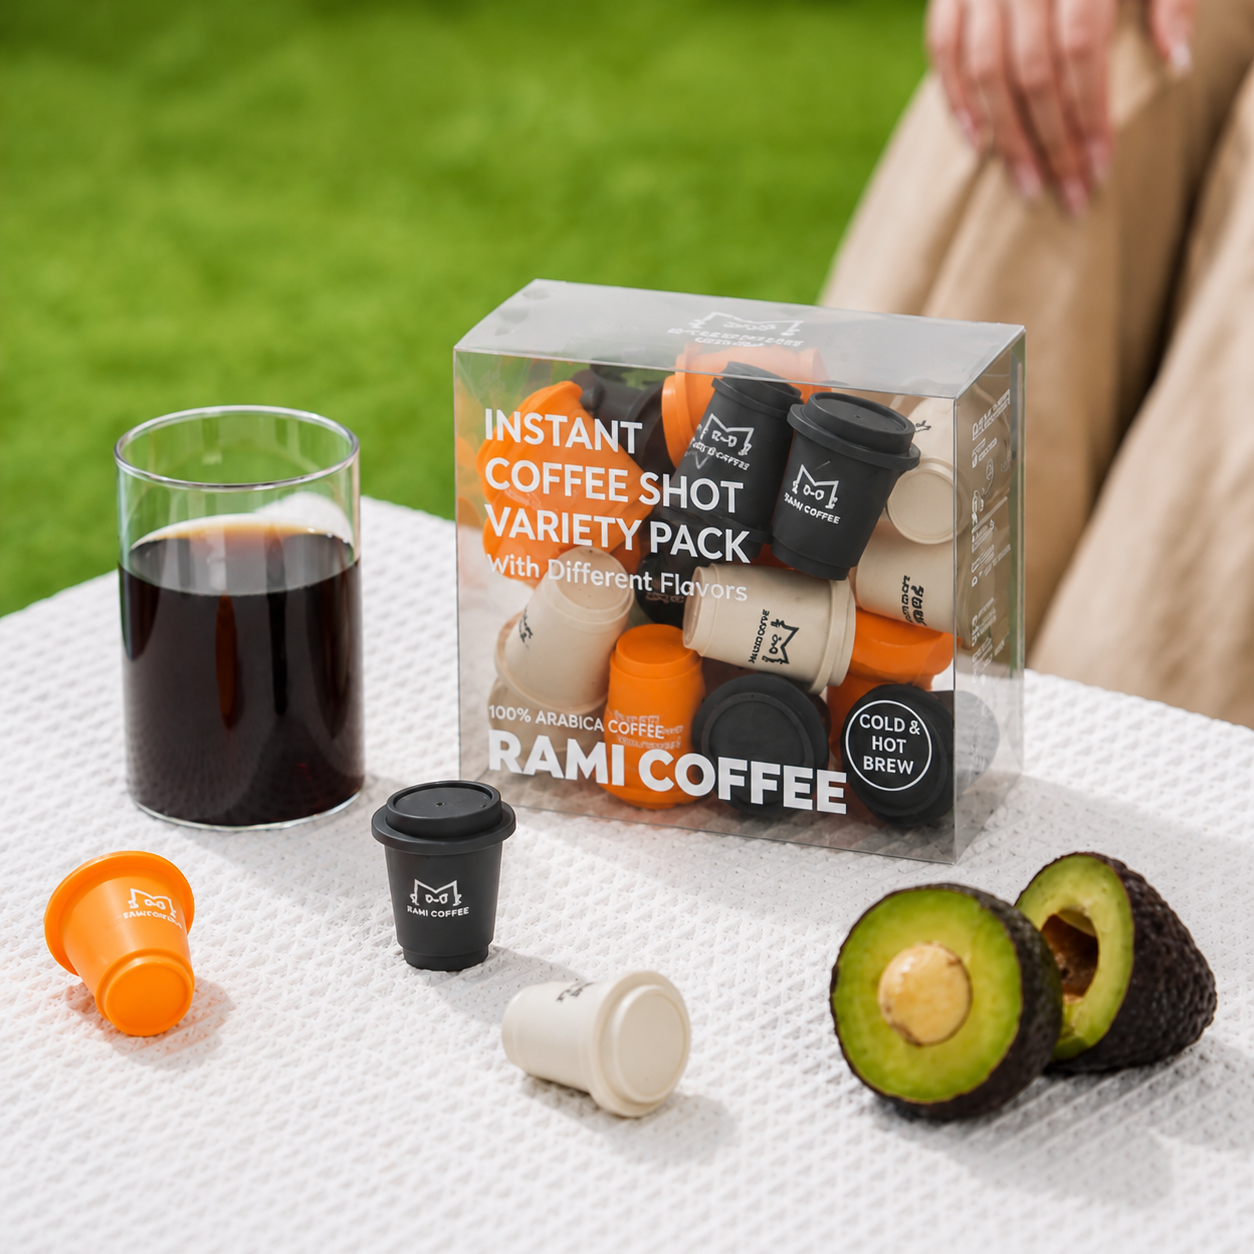
- RAMI Coffee Merch — Find travel-friendly coffee gear that fits your new ritual.